


Britain's inland waterways run to thousands of miles, from the brick-lined cuttings of the Midlands to the tidal reaches of the Thames and the quiet backwaters of the Fens. They are also one of the most photographed landscapes in the country — and one of the most frustrating. Water is a mirror, a diffuser and a light source all at once, and it will punish a careless exposure faster than any mountain. The good news is that canals and rivers reward patience more than expensive kit. Here is how to bring home something better than a snapshot of a moored narrowboat.
Begin before the sun does
The single best decision you can make on the towpath is to set an alarm. Arrive forty-five minutes before sunrise, while the light is still blue and the water has had all night to settle. On cool mornings after a warm day, mist gathers in the water's own valley, hanging low over the cut and softening every reflection into something painterly. Autumn and early spring give you the best of it, when the air is cold enough for mist but the trees still hold colour.
Technically, this is the easiest light of the day. Meter for the brightest part of the sky and let the shadows fall where they may — water and mist confuse a camera's evaluative metering badly, so check the histogram and protect your highlights. Exposures around ISO 100, f/8 and a shutter speed of a quarter to two seconds are typical in mist, which means a tripod and either a two-second timer or a remote release. The rewards are worth the numb fingers: still water, layered depth, and a canal that looks as though it belongs to another century.
A polarising filter is your best friend on water
No accessory earns its place in a canal bag like a circular polariser. Rotate it and you can dial glare up or down: at one extreme the water becomes a deep, revealing window showing weed, bricks and the shadow of a bridge; at the other it turns silvery and opaque, holding a reflection of the sky like a mirror. Most of us want something in between, and the filter lets you choose rather than hope.
- Polarising works hardest when the sun is at ninety degrees to your subject — side-on light, not front or back.
- It costs you roughly one and a half to two stops, so expect slower shutter speeds. That is usually a bonus, not a problem.
- On lenses wider than about 24mm, the effect becomes uneven across the sky and water can look unnaturally black. Zoom in, or accept a gentler setting.
- The filter also cuts haze and lifts autumn foliage, which matters on the long, hazy views down a river valley.
Do not overdo it. Sparkle on ripples, that scatter of bright specular highlights, is part of what makes water alive, and a heavy polarising effect kills it.
Turn bridges, locks and bends into leading lines
Waterways are full of ready-made composition. A bridge arch is a frame, and if you crouch to water level and place it slightly off-centre, the towpath edge, the coping stones and the line of the canal itself all point straight into it. Look for symmetry: on a still morning, a bridge and its reflection form an almost perfect circle. Get the camera level — a bubble level or grid display helps — or the whole thing tilts.
Locks give you geometry. Balance beams, paddle gear, ladders, the black-and-white chevrons of a gate, all make strong vertical and diagonal shapes, especially when a boat is rising inside. Don't ignore the humble stuff: cast-iron mileposts, mooring rings, coiled rope, a line of bollards receding along a wharf. Repetition down a towpath is one of the most reliable shots in the whole genre.
Shoot the details, not just the scenery
Flat, overcast light is a gift for close work, and boats are covered in things worth photographing: painted roses and castles, brass portholes, rope fenders worn soft, a chimney trailing woodsmoke, weathered timber, and lock gates furred with lichen and rust. A standard lens or a short macro will do, and a shallow aperture around f/4 isolates a detail from a busy background.
Waterside buildings are just as rewarding — tarred brickwork, whitewashed pubs with hanging baskets, corrugated sheds, a line of washing on a narrowboat roof. In soft light, texture reads better than in sunshine, so save these subjects for grey days when you would otherwise leave the camera at home.
Settings, kit and towpath manners
A 24-70mm will cover most of what you need, with a 70-200mm for compressing boats on broad rivers and a wide lens for the inside of a lock chamber. A six-stop neutral density filter stretched over two to four seconds smooths ripples without turning the water into plastic — thirty-second exposures usually look fake. Take a microfibre cloth: there is always spray, drizzle or a dog shaking itself dry nearby.
- Keep the towpath clear. Boats under way, cyclists and anglers all have right of way over your tripod.
- Ask before photographing people, and never shoot through a cabin window or step onto a private pontoon.
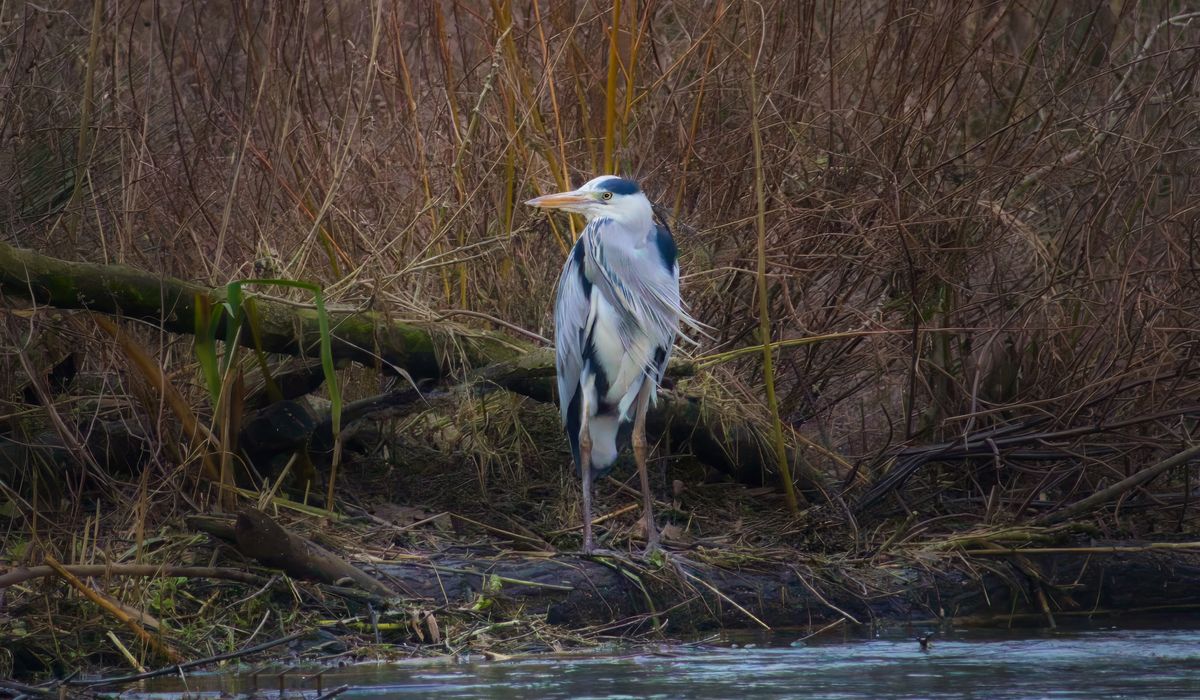
- For wildlife — herons, kingfishers, swans, the occasional otter — use a long lens, keep your distance and skip the flash at dusk.
- Close gates behind you, take litter home, and leave the moorings as tidy as you found them.
Above all, slow down. The waterways were built for a pace of three miles an hour, and the best photographs here come from waiting for the light to change rather than chasing it. Give a scene twenty minutes and it will usually give you something in return.


Leave a reply